Creating Designer Toys - From Concept to Finished Product
Designer toys have exploded in popularity, transforming from niche collectibles into a mainstream art form. These handcrafted, limited-edition figures represent the intersection of fine art, pop culture, and craftsmanship. Whether you’re an artist looking to create your own designer toy line or a hobbyist wanting to make custom figures, understanding the complete production process is essential.
What Are Designer Toys?
Designer toys, also called art toys or urban vinyl, are collectible figures created by artists and designers. Unlike mass-produced action figures, designer toys are typically produced in limited quantities and emphasize artistic vision over commercial appeal. They range from abstract forms to stylized characters, often reflecting the creator’s unique artistic style.
The Complete Production Workflow
Creating a designer toy involves several distinct stages, each requiring specific skills and materials. Let’s walk through the entire process from initial concept to finished, painted figure.
Stage 1: Concept and Design
Sketching Your Vision
Start with rough sketches exploring different concepts. Consider:
Character personality and pose
Size and proportions
Production feasibility
Target audience and market
Refining the Design
Create detailed drawings from multiple angles (front, side, back, top). These become your reference for sculpting. Think about:
Surface details and textures
Potential mold parting lines
Areas that might trap air in the mold
Whether parts will be separate or integrated
Stage 2: Sculpting the Original
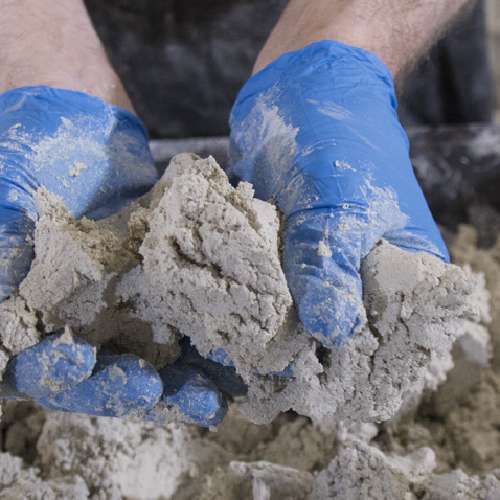
Choosing Your Clay
Oil-based clays are ideal for the master sculpt:
Chavant NSP (Medium or Soft) - Industry standard for professional work
Monster Clay - Sulfur-free alternative, easier to work with
Roma Plastalina - Budget-friendly option
These clays never dry out and can be reheated for easier sculpting.
Building the Armature
For posable or complex figures:
Create wire armature for structural support
Use aluminum foil to bulk out main body masses
Keep armature slightly smaller than final form
Ensure stability for the pose
Sculpting Process
Block Out Major Forms
Start with basic shapes, establishing proportions and overall gesture. Don’t worry about details yet.
Refine the Form
Gradually refine shapes, improving anatomy and flow. Use larger tools and work the entire figure evenly.
Add Details
Once satisfied with forms, add surface details, facial features, clothing folds, and textures. Work from large to small details.
Final Surface Preparation
Smooth areas that should be smooth, refine textures, and ensure clean transitions. This master will capture every detail, so take time to perfect it.
Professional Tips
Work in a cool environment to keep clay firm
Warm clay with heat gun for easier manipulation
Use reference images constantly
Step back frequently to assess proportions
Take photos to spot issues not visible in person
Stage 3: Creating the Mold
Mold Design Considerations
One-Part Mold: Simple forms with no undercuts
Two-Part Mold: Most common for designer toys
Multi-Part Mold: Complex designs with significant undercuts
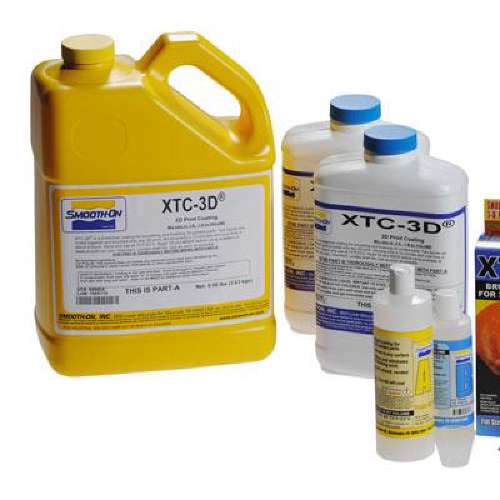
Smooth-On PMC-121/30 - Excellent for brush-on applications
Making a Two-Part Block Mold
Step 1: Prepare the Original
Clean your sculpt thoroughly. Apply a sealer if using water-based or porous materials.
Step 2: Create Mold Box
Build a container around your sculpt using foam core, LEGO, or purpose-made mold boxes. Ensure adequate thickness (minimum 12mm) around all sides.
Step 3: Position and Key
Embed sculpt halfway in clay or plasticine. Create registration keys (hemispherical indents) in the clay surface for mold alignment.
Step 4: Seal and Release
Seal gaps with clay. Apply mold release to sculpt and mold box surfaces.
Step 5: Mix and Pour First Half
Calculate silicone needed (length × width × height). Mix silicone thoroughly and pour slowly in a thin stream to minimize bubbles. Use a pressure pot if available.
Step 6: Cure and Prepare for Second Half
Allow full cure (usually 16-24 hours). Remove clay bed. Clean mold surface and apply release agent to both mold and sculpt.
Step 7: Pour Second Half
Mix and pour second half. Allow to cure completely.
Step 8: Demold
Carefully separate mold halves and remove original. Cut pour spout and vents as needed.
Stage 4: Casting Your Figures
Selecting Casting Resin
Smooth-Cast 300 Series - Fast casting, easy to use
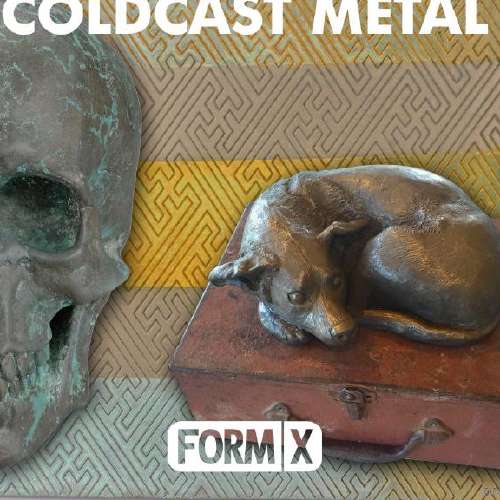
Smooth-Cast 325 - Great detail capture, good for cold casting
Smooth-Cast ONYX - Black resin, excellent for painted figures
The Casting Process
Prepare the Mold
Clean mold thoroughly. Apply release agent if using tin-cure silicone (platinum usually doesn’t need it).
Calculate Resin Amount
Fill mold with water and measure, or calculate volume mathematically. Add 10% for margin.
Mix Resin
Follow manufacturer’s mix ratio precisely. Mix thoroughly but gently to minimize air. Many resins cure in 10-30 minutes, so work efficiently.
Pour and Rotate (Slush Casting)
For hollow casts, pour resin and rotate mold to coat all surfaces. Continue rotating until resin starts to gel. This creates lightweight, hollow figures.
Solid Casting
For solid figures, simply pour mixed resin into mold and allow to cure. Use a pressure pot to eliminate bubbles.
Demold
Wait until fully cured before demolding. Carefully separate mold halves and remove casting.
Stage 5: Finishing
Cleanup
Remove flash and seam lines with craft knife
Sand rough areas with fine sandpaper (220-400 grit)
Fill any imperfections with putty
Wash piece with soap and water before painting
Assembly
If cast in multiple pieces:
Test fit all parts
Use appropriate adhesive (CA glue or epoxy)
Clamp or hold until fully cured
Fill gaps and smooth joints
Stage 6: Painting and Customization
Surface Preparation
Wash with soap and water
Prime with automotive or plastic primer
Light sanding between primer coats
Build up smooth surface (2-3 primer coats)
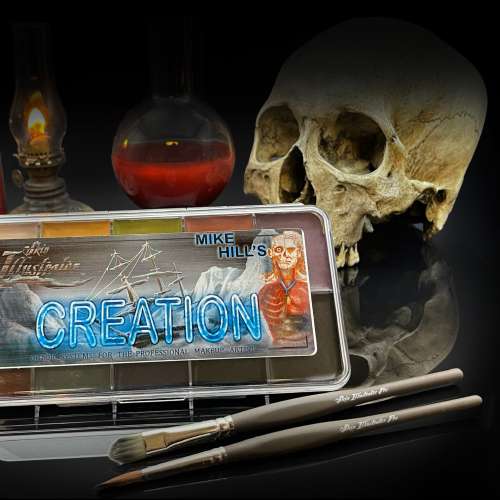
Painting Techniques
Base Coating
Apply solid base colors first. Spray paint provides smoothest finish, but brush-on acrylics work well for hand-painted look.
Detail Work
Use fine brushes for facial features, small details, and precise lines. Multiple thin coats better than one thick coat.
Shading and Highlighting
Add depth with washes (thin dark paint in recesses) and highlights (lighter colors on raised areas).
Special Effects
Dry brushing for weathering
Airbrushing for gradients
Decals or water-slide transfers
Vinyl stickers
Sealing
Protect your paint work:
Matte varnish for flat finish
Satin for slight sheen
Gloss for shiny areas
Multiple thin coats
Production Considerations
Scaling Your Project
One-Off/Art Pieces: Hand-cast and painted by you
Small Runs (10-50): Manageable home production
Medium Runs (50-200): Consider hiring help for painting
Large Runs (200+): Look into factory production (rotocasting, vinyl)
Costing Your Work
Account for:
Materials (clay, silicone, resin, paint)
Time (sculpting, moldmaking, casting, painting)
Overhead (tools, workspace, utilities)
Packaging and shipping
Marketing and platform fees
Building Your Brand
Develop consistent style
Create compelling packaging
Document your process for social media
Engage with the designer toy community
Consider limited editions and exclusives
Common Pitfalls and Solutions
Air Bubbles in Casts
Use pressure pot for casting
Mix resin carefully
Paint mold with thin first layer
Add vents to mold design
Mold Tears
Use appropriate hardness silicone
Adequate mold thickness
Careful demolding
Proper support during pouring
Paint Issues
Thorough primer application
Proper surface preparation
Appropriate paint for material
Thin, multiple coats
Distortion or Warping
Proper cure times
Room temperature considerations
Support structure during cure
Adequate mold thickness
The Designer Toy Community
Once you’ve created your first designer toy, consider:
Sharing progress on Instagram, Twitter, or TikTok
Joining designer toy forums and groups
Attending conventions and shows
Collaborating with other artists
Selling through platforms like Kickstarter or specialized toy retailers
Creating designer toys combines traditional sculpture skills with modern materials and production techniques. While the process requires investment in materials and learning, the satisfaction of holding your own handcrafted designer toy and sharing it with collectors worldwide makes every step worthwhile. Start with a simple design, master the fundamentals, and let your creativity guide you into this exciting art form.